
Your Solar Install Day, Explained
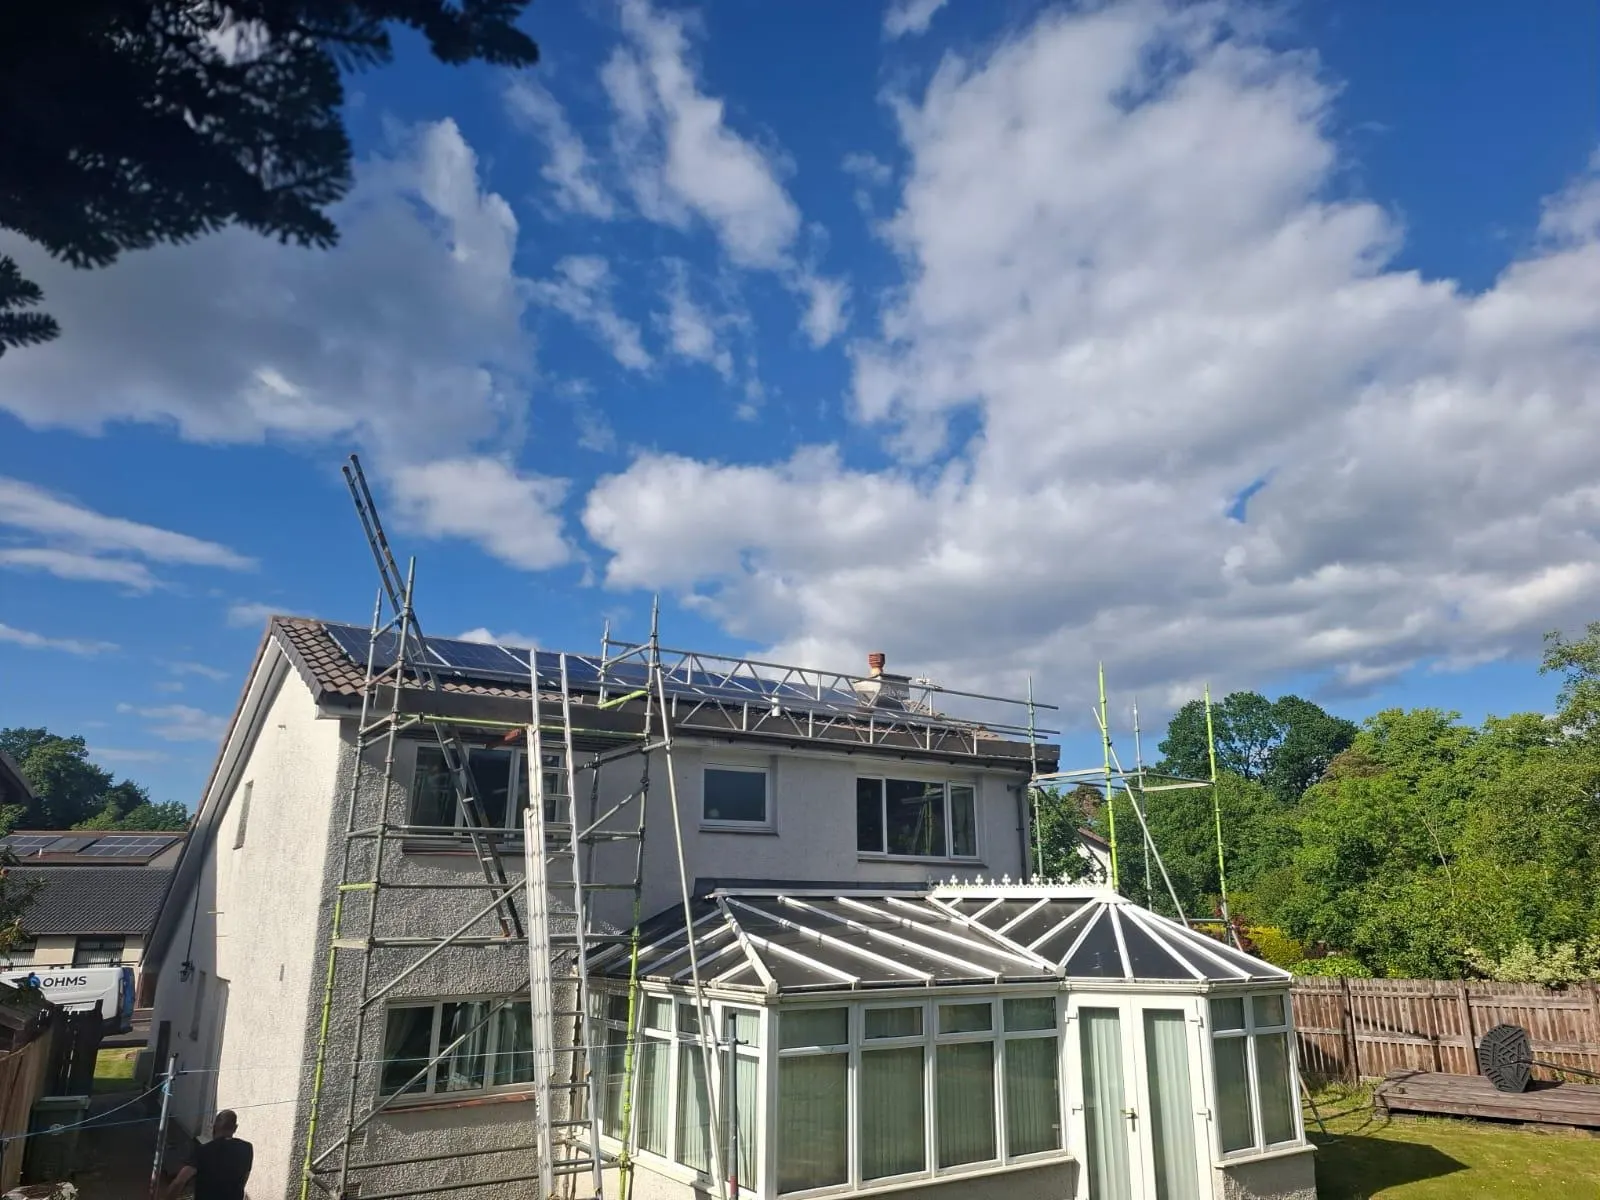
A straightforward home installation often takes 1 to 2 days on site, but the schedule depends on the roof, equipment, access and weather. We agree access and any electricity interruption beforehand. Viking handles the relevant network paperwork; any required connection approval must be in place before connection.
Key facts
- Allow around 1 to 2 days for a straightforward installation; your survey confirms the likely schedule
- DNO grid paperwork is filed by Viking throughout, not something you deal with directly
- Your handover includes certification, applicable warranty documents and monitoring guidance; confirm the delivery timescale
How long does a solar install actually take?
For a typical house, fitting the panels, inverter and any battery takes 1 to 2 days on site. A small, straightforward roof can sometimes be done in a single day. A larger system, a second battery, or a roof that needs extra care (slate, a steep pitch, more than one elevation) can push it toward 2 days.
You can usually remain at home, but we need safe access to the agreed work areas and electrical equipment. Arrange access, availability for handover and any time away from work with us before the installation date.
What happens on scaffolding day?
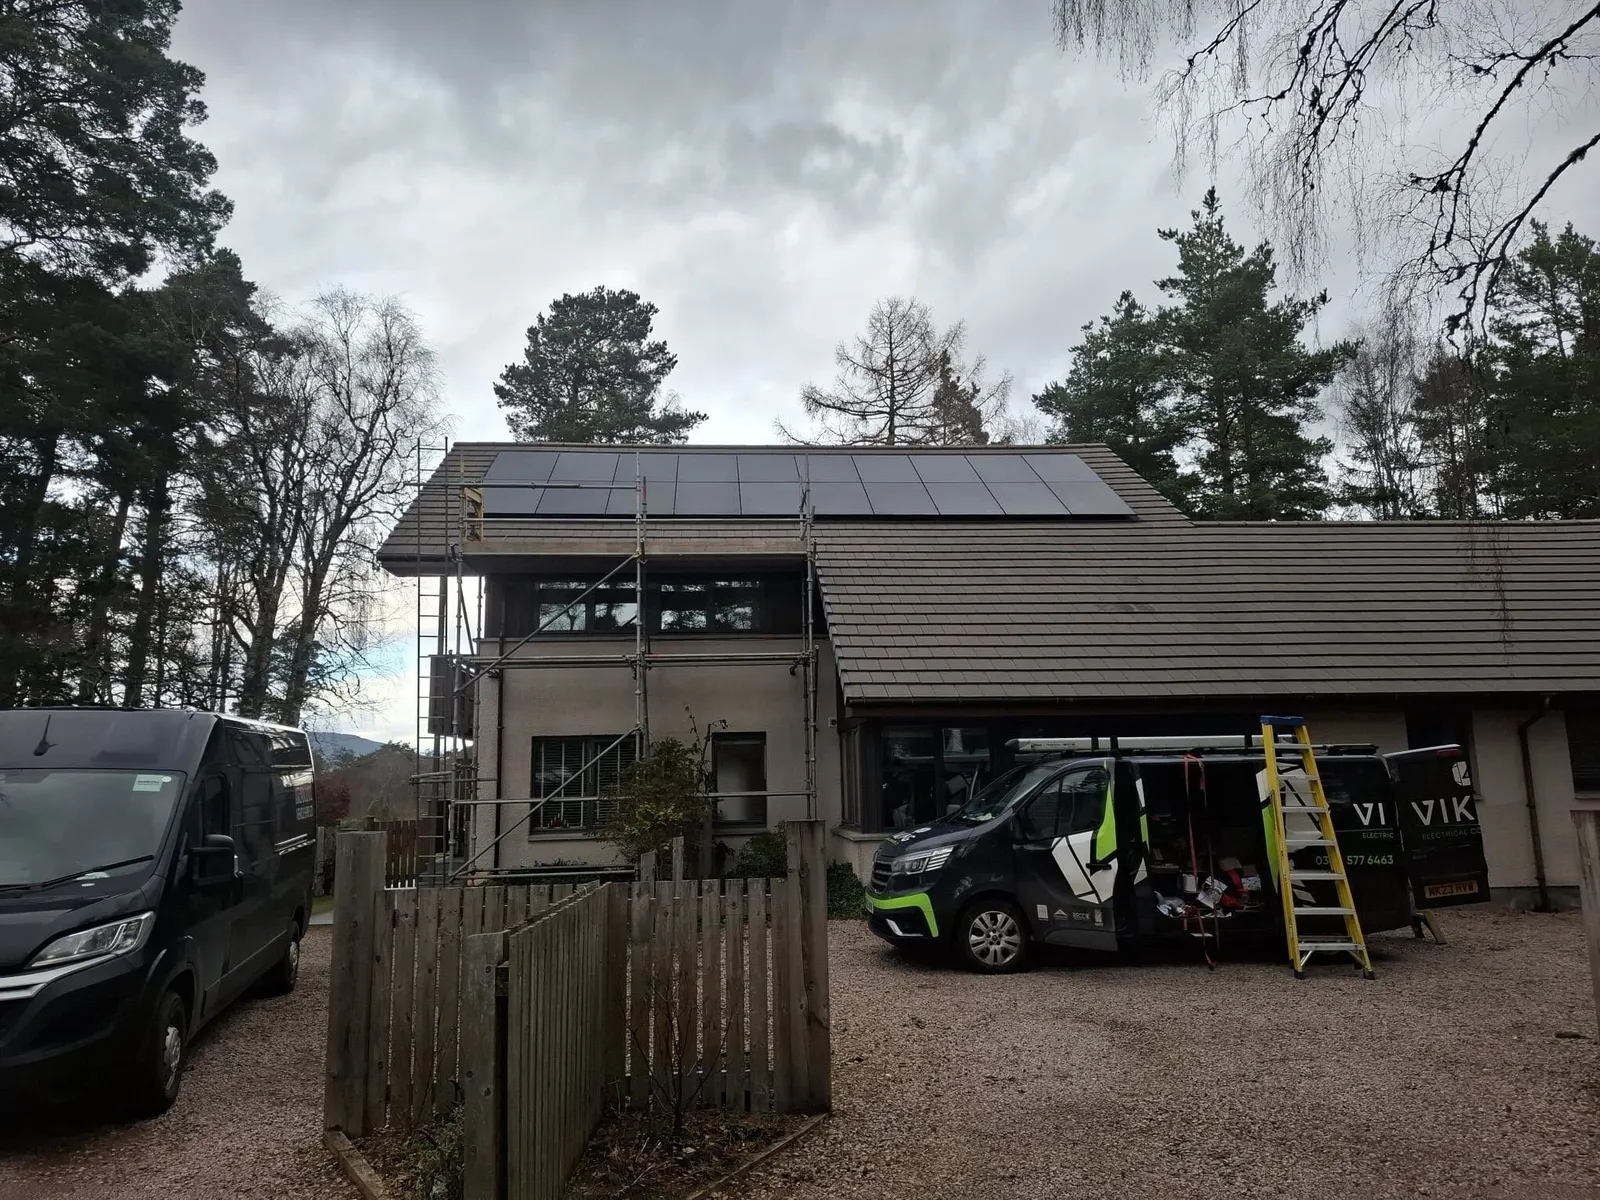
On most jobs, scaffolders arrive first, usually a day or so ahead of the install crew, and build access around the sections of roof being worked on. This is a separate, shorter visit: no panels or wiring happen yet, it is purely about giving the installers safe, secure access to the roof.
Once scaffolding is up and signed off, the install team moves in on the agreed day. From there the day runs in a fairly predictable order, whether the whole job fits into one day or spreads across two.
Install day, hour by hour
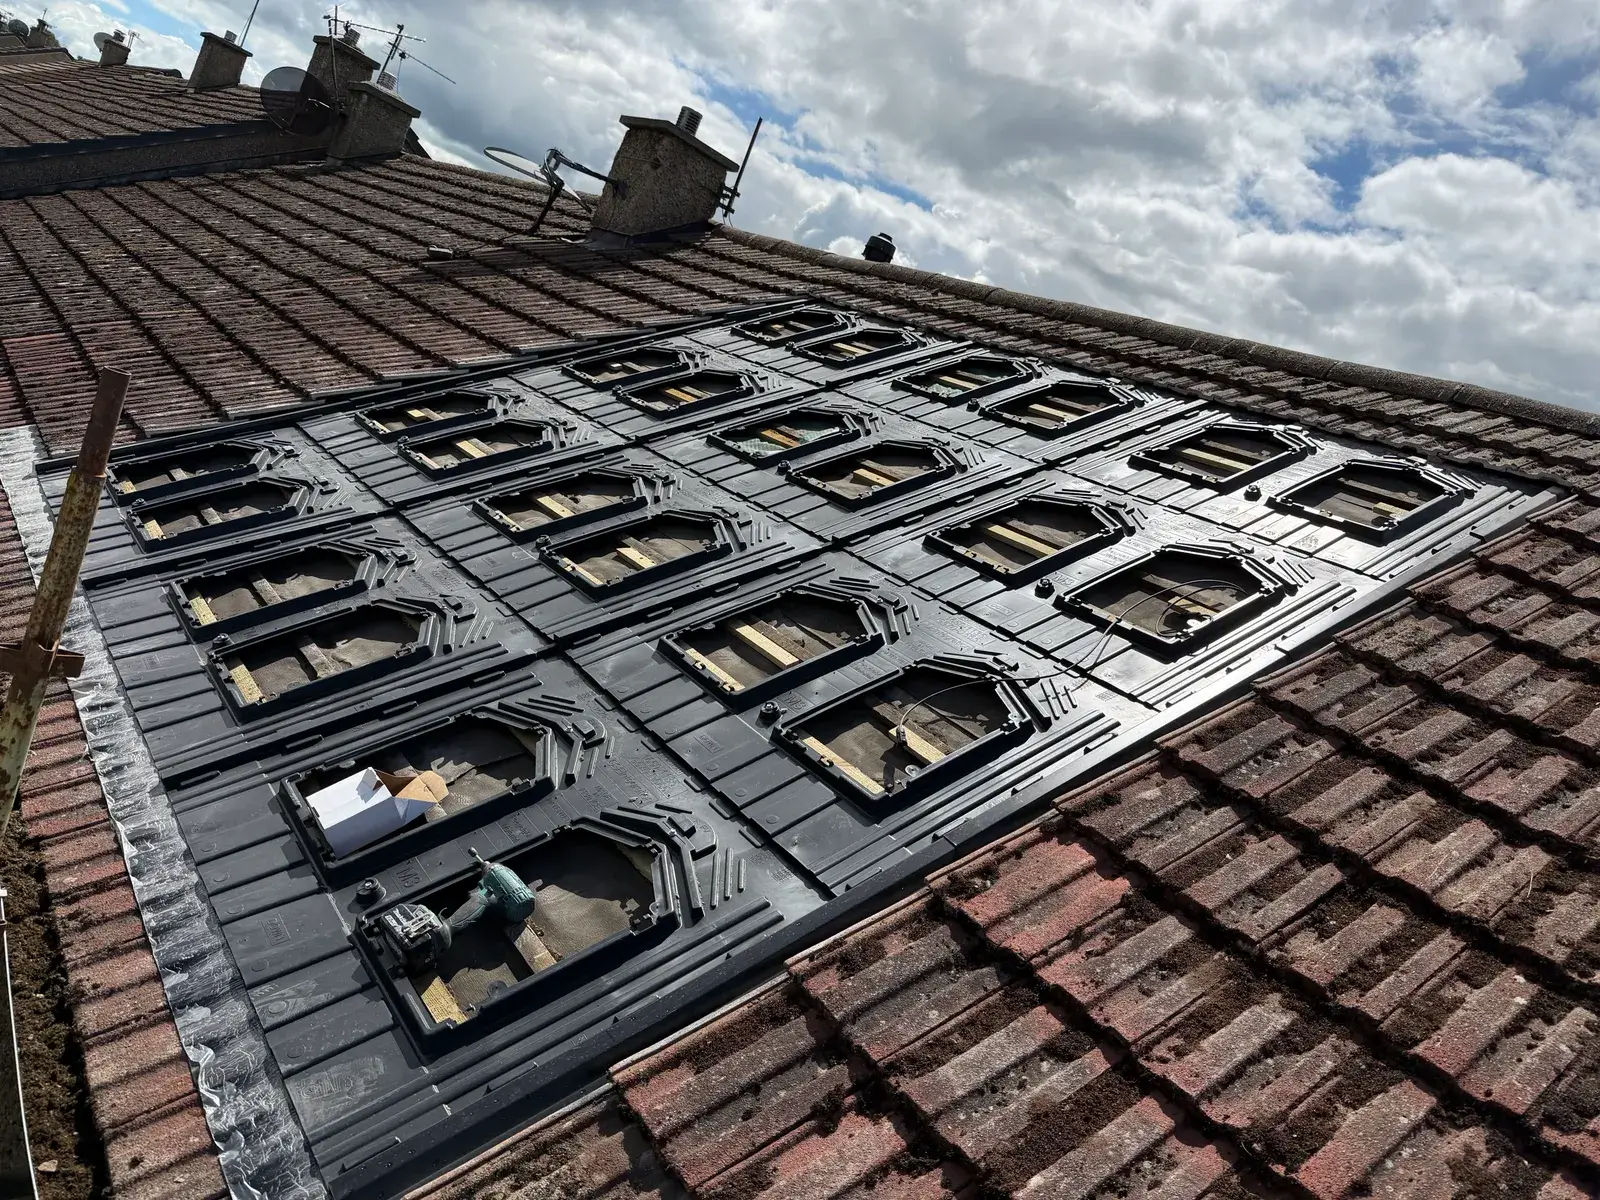
The crew typically arrives in the morning and starts by fitting the roof mounts, the brackets that the panels will sit on, working section by section across the scaffolded area. Once mounts are secure, panels go on and are wired together in strings.
Cables run between the array and the agreed equipment positions. Inverter and battery locations are assessed separately for safety, access, temperature and manufacturer requirements; a loft is not a default battery location.
The order and timing depend on the job. Testing and commissioning follow the installation work and any required network approval; the crew will explain any outstanding steps before leaving.
Switch-on
Switch-on is the point where the installer runs through the electrical checks, confirms the system is generating and, where fitted, that the battery is charging and discharging correctly. You will typically see this confirmed on the inverter display or companion app there and then, not days later.
| Stage | What happens | Roughly when |
|---|---|---|
| Scaffolding | Scaffolders arrive and build access around the roof sections being worked on | A day or so ahead of the install crew |
| Roof mounts | Crew fits the roof mounts, the brackets the panels will sit on, section by section | Morning, install day |
| Panels | Panels go on and are wired together in strings | Once the mounts are secure |
| Cabling, inverter & battery | Cabling is run down from the roof; inverter and battery are mounted, connected and tested | Before switch-on |
| Switch-on | Electrical checks are run; generation (and battery charge/discharge, where fitted) is confirmed on the display or app | After installation, testing and any required approval |
Most installs take 1 to 2 days on site in total.
What network paperwork does Viking handle?
The local electricity network operator is the DNO. Some small installations follow a notification-after-connection route; others need approval before connection. The correct route depends on the equipment and connection design, including any battery and export limits.
Viking handles the relevant application or notification and technical information. We will explain any approvals, signatures or further information needed from you. Network approval and signing up for an export tariff are separate steps.
What do I actually need to do?
Very little. Give the crew access to a kettle and a toilet, keep a parking space free near the property for the van and any scaffolding delivery, and make sure the loft, garage or utility room where the inverter is going is reachable. If you have pets, it helps to keep them away from the work areas and any open scaffolding for the day.
Clear the agreed work areas and arrange access before the crew arrives. Tell us about any equipment that must remain powered so we can discuss the planned electricity interruption. Agree whether you need to be present for access, decisions or handover.
What happens after switch-on?
Once the system is live, you get an MCS (Microgeneration Certification Scheme) certificate confirming the install meets the national standard, which matters for any future funding, insurance or resale questions. You also get your warranty documents for the panels, inverter and battery, and help setting up the monitoring app so you can see generation and, where fitted, battery use from your phone.
Some handover items may be demonstrated on site and others supplied afterwards. Agree when you should receive the certificates and warranty information, and contact us if anything is missing.
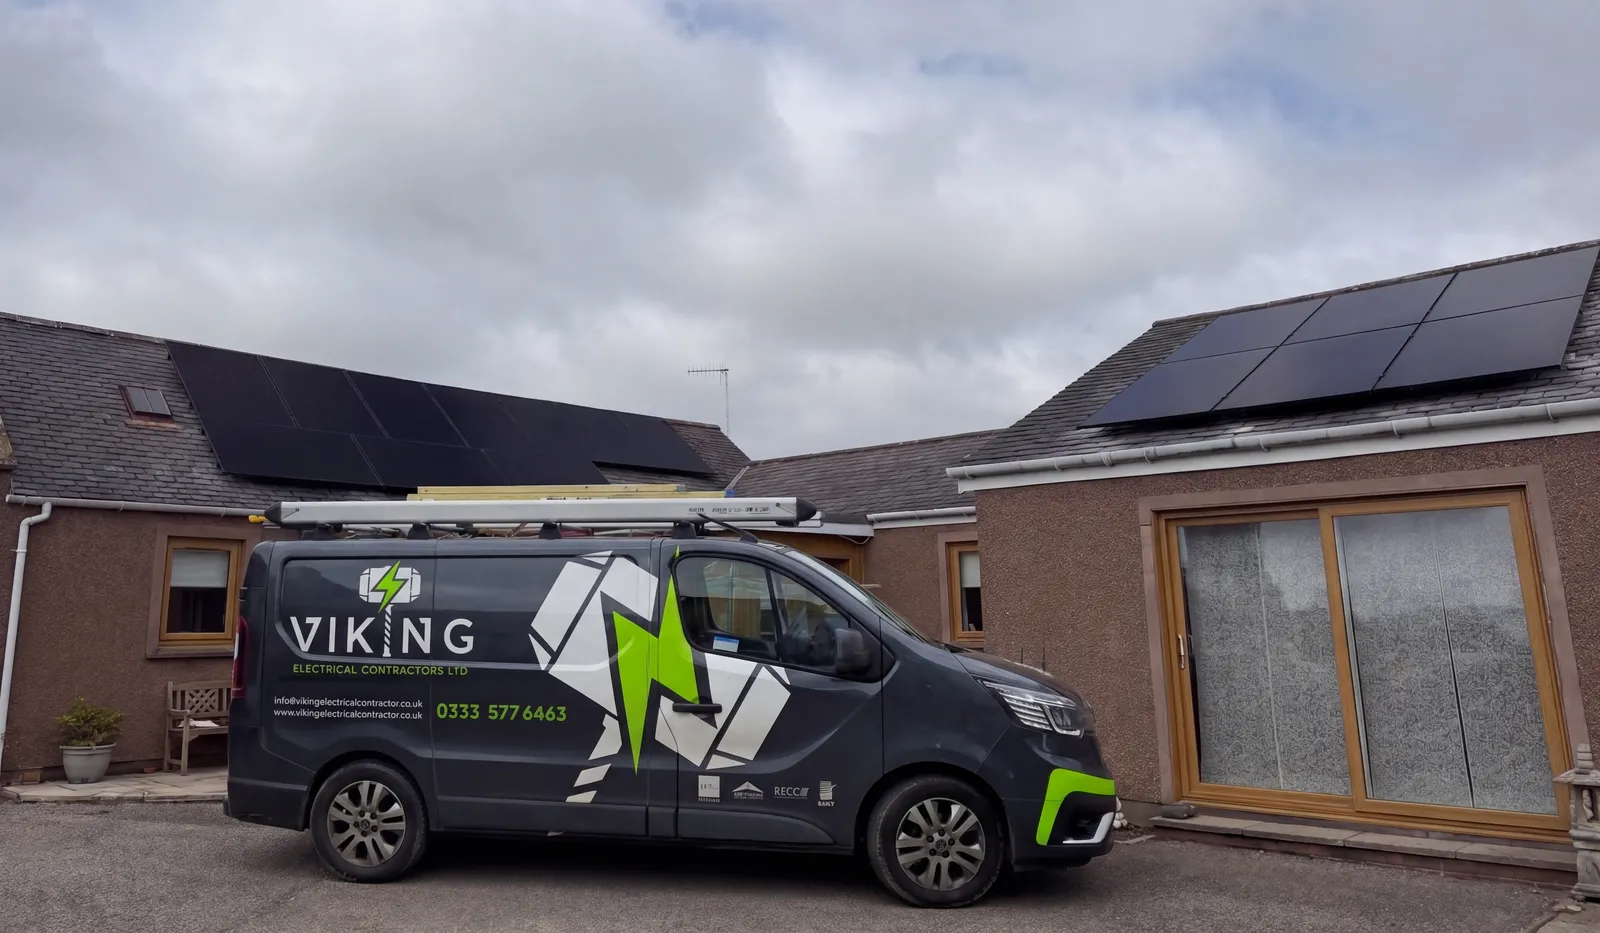
What does good look like, versus corner-cutting?
A clear quote should explain safe roof access, the applicable network process, certification and what is included in the price. Ask who handles each step and when the documents will arrive. Where prior network approval is required, it must be obtained before connection.
If you are still comparing installers, our guide to choosing one covers the specific questions worth asking before you sign anything.
What this means for you
A clear installation plan covers the work on your roof, equipment locations, access, electricity interruption and handover. Viking handles the network paperwork, and we will explain any actions or approvals still needed from you.
If you want to see what a completed system actually generates once it is live, our real measured install data is a useful next stop before or after you book.
Curious what separates a proper install from a corner-cut one? Our checklist covers the questions worth asking any installer before you book, including Viking.
See what a proper installer should offerFrequently asked questions
Do I need to be home for the whole solar installation?
Agree this with the installation team beforehand. You may not need to stay for every hour, but access to the property and someone available for questions and handover must be arranged.
How long does scaffolding stay up during a solar install?
Scaffolding is usually up for the duration of the roof work and comes down shortly after the panels and mounts are complete and signed off, typically within a few days of the main install.
Do I need to apply to my electricity network operator myself before getting solar?
No. The DNO application is filed by Viking as part of the job, including any approval that is needed before the system can export power. You are not expected to contact the network operator yourself.
Can solar panels be installed in one day?
On a small, straightforward roof it is sometimes possible, but most installs, especially with a battery or a larger system, take 1 to 2 days on site.
What paperwork do I get after a solar installation?
Your handover includes MCS certification, applicable equipment warranty documents and monitoring guidance. Confirm when each item will be supplied; they may not all arrive on installation day.
What should I prepare before install day?
Arrange access and parking, clear the agreed work areas and keep pets away. Discuss any electricity interruption and whether you need to be present. The team will confirm the preparation needed for your property.
Sources
Last verified: 20 July 2026. We re-check the facts on this page regularly; if a scheme or rate has changed since, the official source linked above is definitive.